Today I will show you about how to create your Facebook profile wall in a new stylish way ,
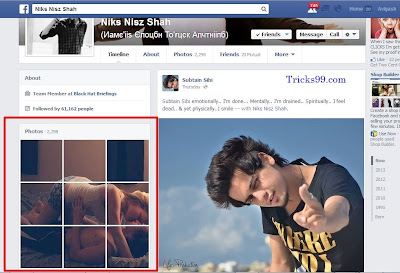
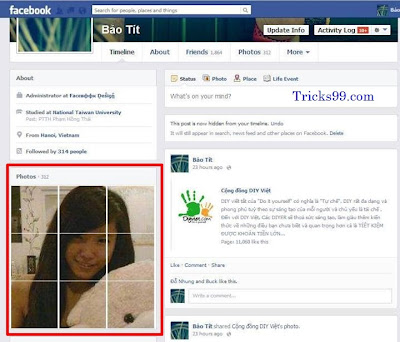
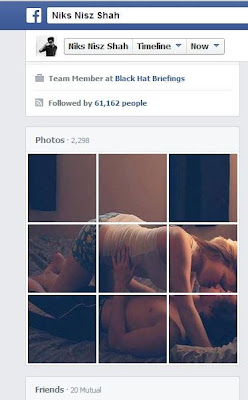
Check the new attractive stylish designs here in the below pictures which we created ,
So now how to create your Facebook profile wall in those type of attractive stylish ways ? ?
Select any best picture which you want to show on your Facebook wall , then Click Here .
Upload your selected picture in the ' Upload Image File ' box .
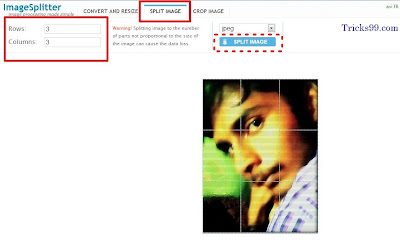
Now after your image gets uploaded , select ' SPLIT IMAGE '
and make no of Rows = 3 and no of Columns = 3
Check the above steps in the below image ,
It takes a few secs to split your image into parts and when it completes , A win rar file will be getting download in your browser , when the download finishes , save that win rar file in any new folder of your pc and now extract that win rar .
You will get 9 parts in those extracted folder with names .
Now Upload all those 9 parts-images to your facebook profile in a new album .
Note - Upload all those 9 images in Reverse Order [ bottom to top ]
and after you uploading & publishing finishes , Tag your profile name in all those 9 images so that the tagged pictures will appear on your profile wall .
Make sure that you wont get tagged in any news pics of your friends in future because if you accept any tags , those new tagged pictures will start appearing on your profile wall by replacing our old created stylish design pictures .
How to get stop tagged in any posts or pictures ? ?
Click here and keep Tagging Review - Enabled .
Note - Splitting images will give good results to only some pictures but not all pictures , so choose any best suitable format pictures to get splitted .
If you found any best splitted pictures on a wall , you can ask them to tag your profile name on those 9 pics so that you profile will also gets those same attractive stylish pictures on your wall .
I hope this post will help you to create your Facebook Profile Walls in Attractive Stylish Ways of your choice . Please share this post with your friends and help us by spreading our content to public .


0 comments:
Post a Comment